
3D Graphics, Tutorials and Tips
Using 3DS Studio Max and Mental Ray
3D Graphics, Tutorials and Tips
Using 3DS Studio Max and Mental Ray


Dr. Who's arch-nemesis, the Dalek as classic Genesis and New Series versions
H.M.S. Nelson, big gunned capital warship from WWII
Edwardian house. Old school architectural renderings
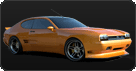
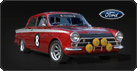
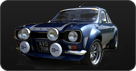
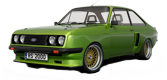
Assorted models and renders
These tutorials focus on using the Mental Ray renderer (iRay tutorials in preparation). The production shaders enable the easy integration of 3d Models into photographs.
These renders have been created to visualise scientific concepts and experimental layouts. A 10 minute HD film was also created.
Geological Waste Disposal Bluray/HD 2009
Geological Waste Disposal DVD 2003
PSG Experiment - Grimsel (Nagra)
Rendering and compositing of 3D models for international Clients
Front cover for Burton Power Catalogue 2012
Front cover for Burton Power Catalogue 2014
Front cover for Burton Power Catalogue 2015
Front cover for Burton Power Catalogue 2016
Wavemaster Design : Ferry design renders
Car Colour Services : Colour and spraying services
Volkswagen Crafter for Volkswagen Australia
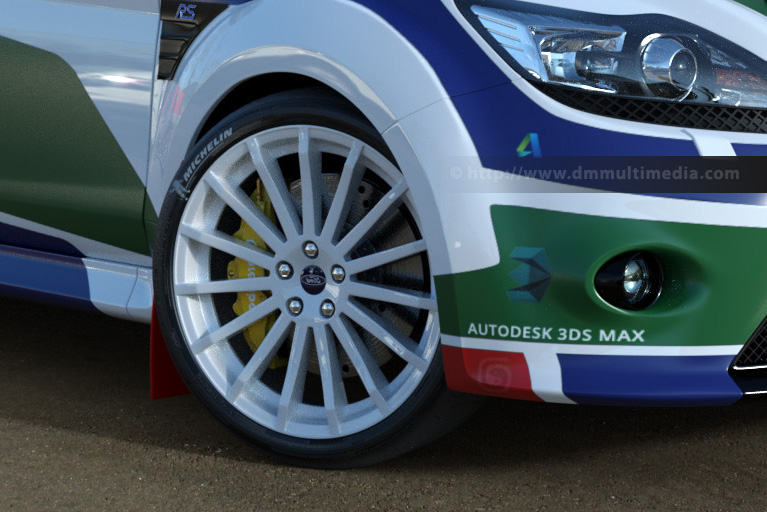
DMMultimedia | 3d tutorials | Simple Tyre Tutorial | Tyre Sidewall Bitmaps


To finish off a 3D tyre good sidewall markings make a real difference to the realism of a final render. These sidewall markings can be created in 2 ways :
1. Create the individual geometry of the sidewall markings as real objects, or
2. Create a sidewall bitmap for a bump or displacement texture.
In most renders the tyre sidewall will not be the focus of the image so method 1. may be a bit of overkill. This tutorial outlines one method of using 3DS Max to create bitmaps that are perfectly matched to your tyre.
The main problem when trying to create a tyre sidewall bitmap texture is the the fact that the texture is circular. A much easier way to create a bitmap is to have it in a single horizontal line. This method shows a way of unwrapping a tyre to create a simple flat template to use for painting. This is much easier than trying to paint in a circular format in Photoshop.
Open up 3DS Max and load in a tyre. Use side view of your tyre
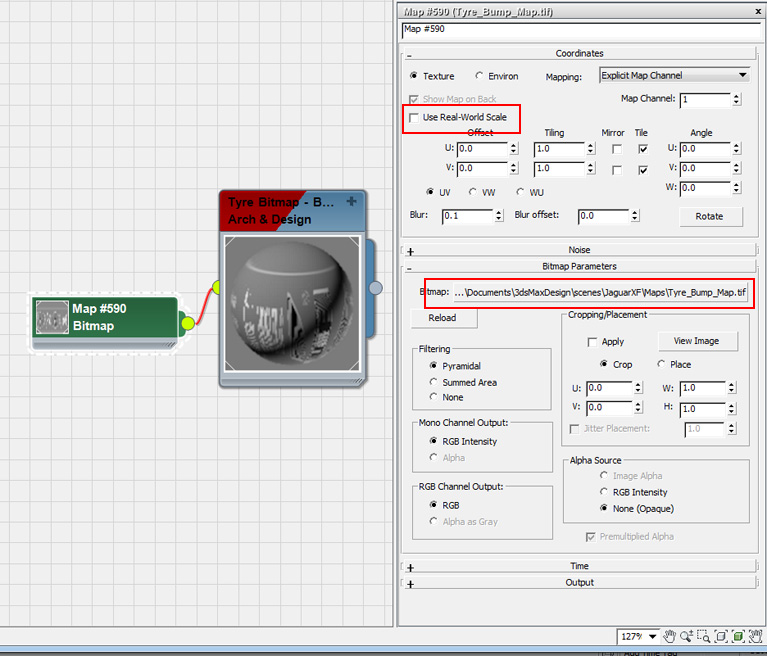
Add a box, with approximately the right sidewall height. Untick Use Real-World Scale.
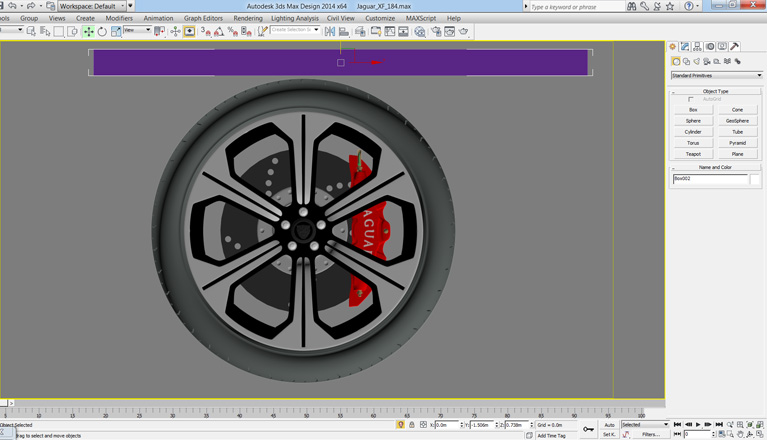
Move the box in front of your tyre and centre it on your tyre's sidewall.
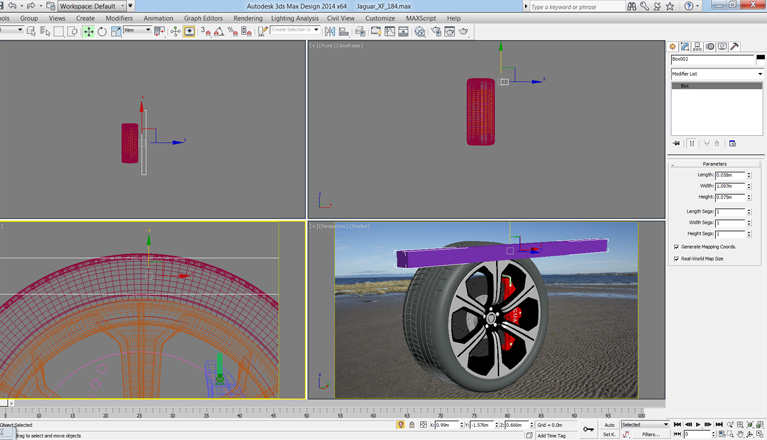
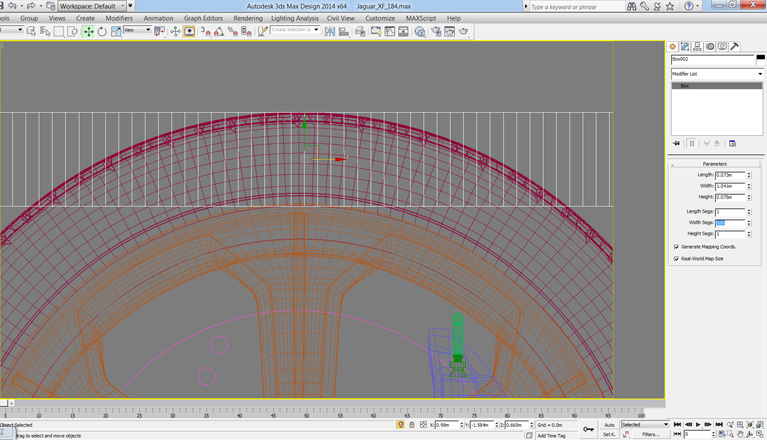
Adjust the height of the box (length in my case) to match the tyre's sidewall height. Set the number of width divisions to 200
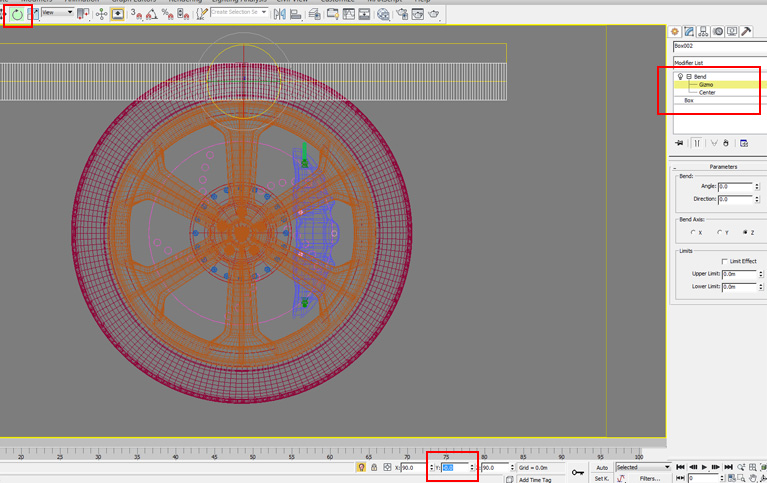
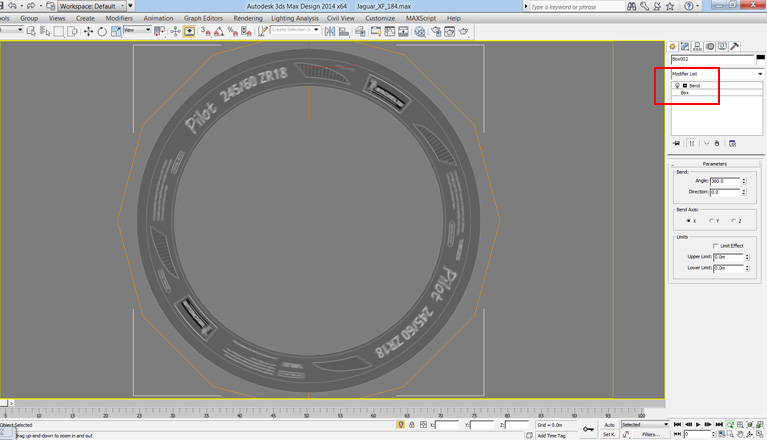
Now add a Bend transform.
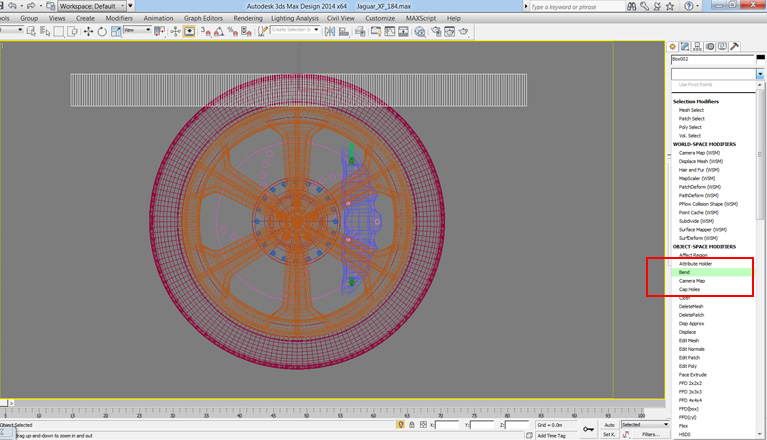
Select the bend gizmo, and the rotate tool and enter 90 into the Y co-ordinates box.
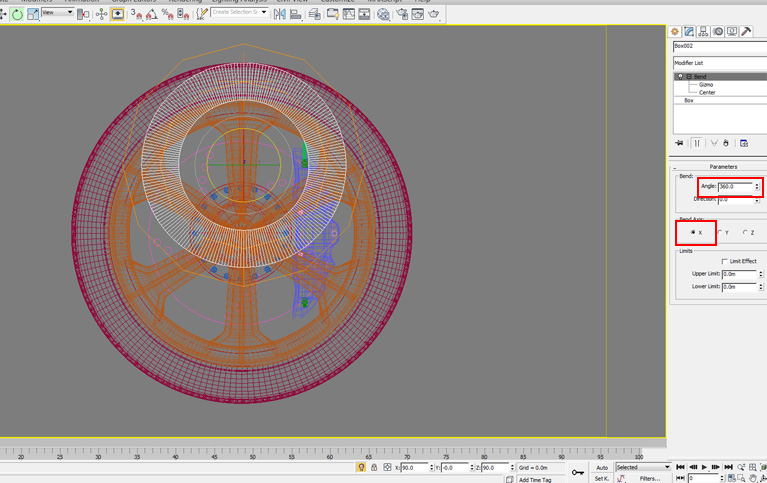
Set the Bend axis to X, and enter 360 (one circle in degrees) in Angle.
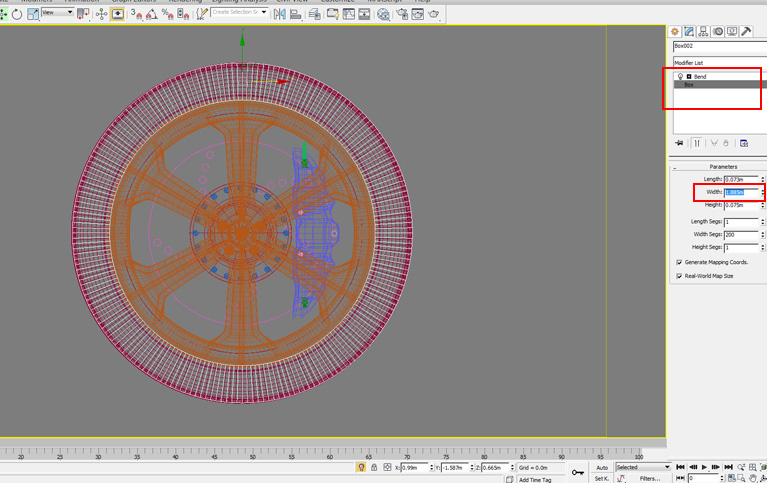
Now adjust the width parameter of the box until your bent box matches the tyre.
We will now use this as our template for creating the tyre bitmap.
Disable the Bend modifier.
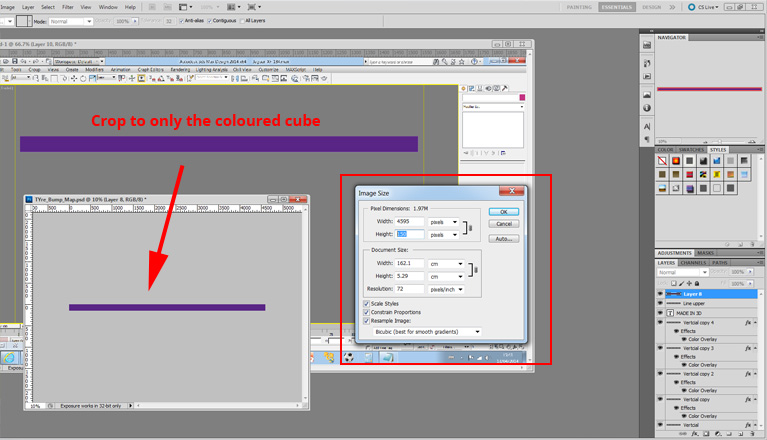
Isolate the Box, and set the viewport to shaded. Screen grab this viewport.

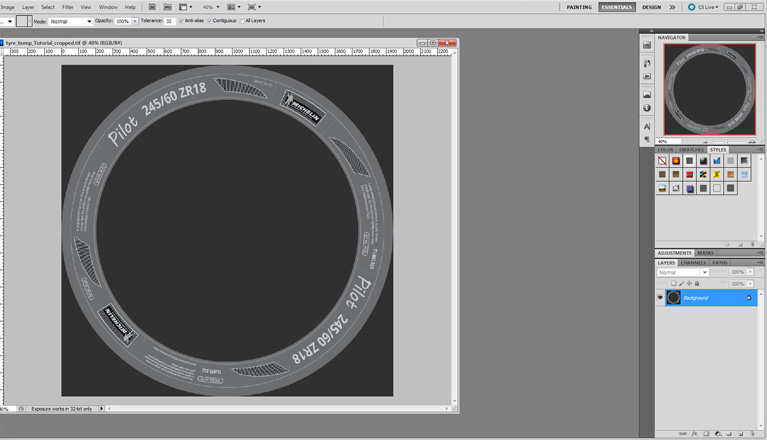
The grabbed box gives us the length and height of our sidewall. Inside Photoshop, crop the Box and scale until the image has a height of 150 pixels (or as large as you would like, larger gives better resolution).
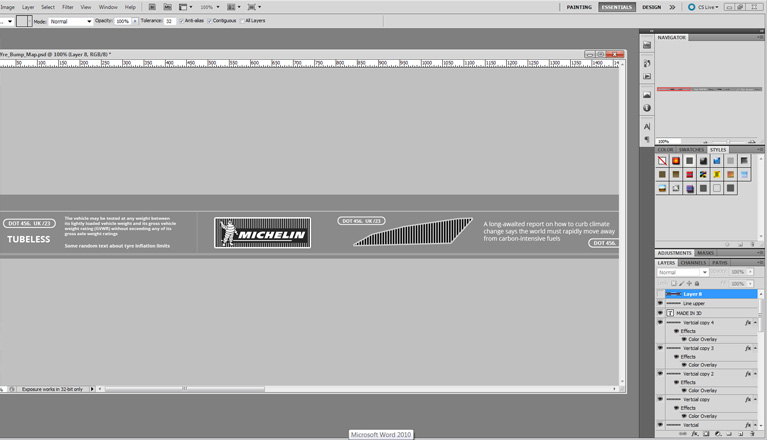
With the cropped Photoshop image we can now paint our tyre sidewall. Set the background colour as a mid grey. Anything in white will be raised, and anything in black will be recessed. Paint the style of tyre sidewall you wish. Remember that the top edge of the image will merge into your tyre tread, so leave an area unpainted (you can follow the next few steps to see how this looks, and then come back and adjust this template if required).
Back in 3ds Max, create a default Arch & Design material and set the reflectivity to 0.0.

Add a bitmap to the diffuse slot, choose the bitmap we created in Photoshop and untick Use Real-World Scale.
Apply this texture to the box, and select Show Realistic Material in Viewport.

The box should now look like this.
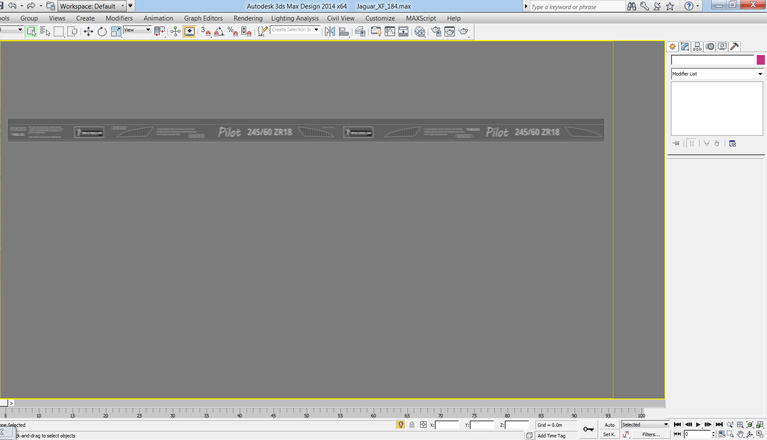
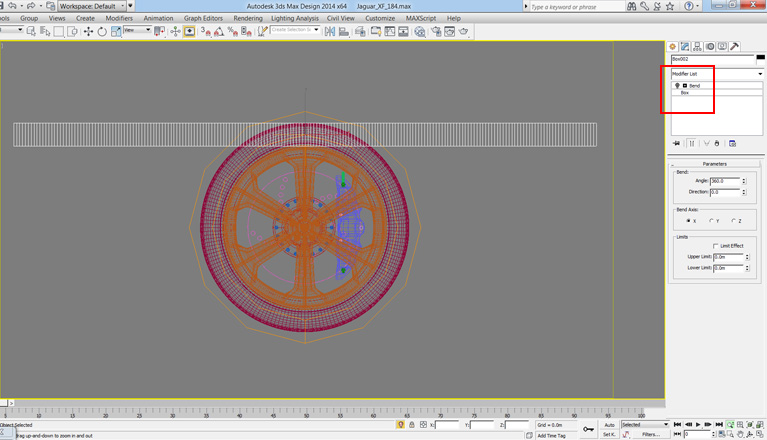
Enable the bend modifier and rescale your viewport to enclose the box like this.
Using default lighting (or lighting that gives a flat light) and a dark grey background render this image at a large size. I chose 3500 pixels wide. Save this full sized image.
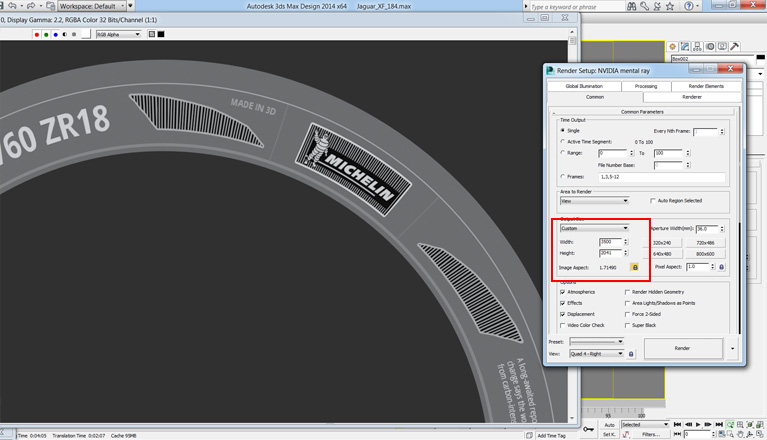
From within Photoshop crop the image until the edges of fill the square image. Save this image, it is now your tyre bump map - A bitmap that matches your tyre perfectly.
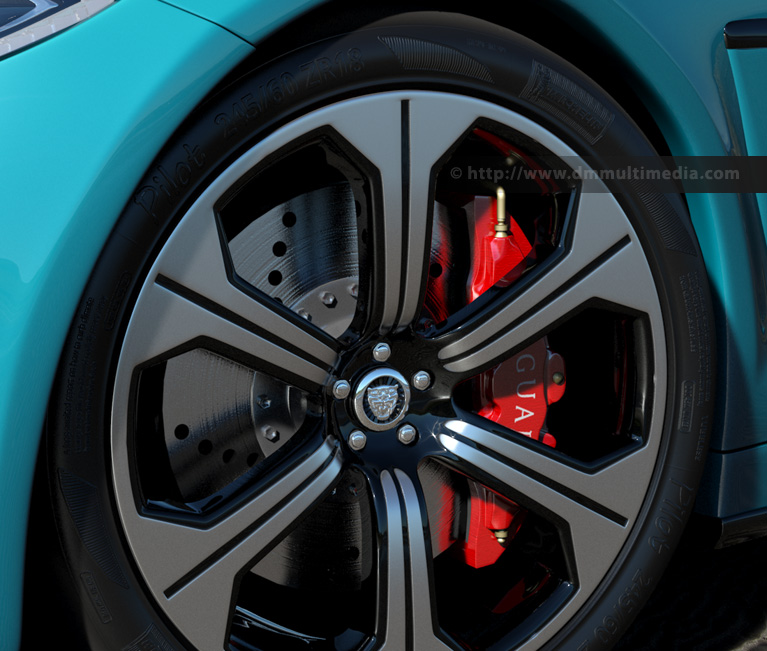
Using this bitmap in the bump slot will now give the following image. You can also use this method to create blend maps to create bumped and textured tyres.


 Check out the Previous tutorials which outline how to: