3D Graphics, Tutorials and Tips
Using 3DS Studio Max and Mental Ray
3D Graphics, Tutorials and Tips
Using 3DS Studio Max and Mental Ray


Dr. Who's arch-nemesis, the Dalek as classic Genesis and New Series versions
H.M.S. Nelson, big gunned capital warship from WWII
Edwardian house. Old school architectural renderings
Assorted models and renders
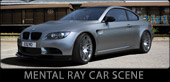
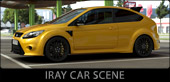
These tutorials focus on using the Mental Ray renderer (iRay tutorials in preparation). The production shaders enable the easy integration of 3d Models into photographs.
These renders have been created to visualise scientific concepts and experimental layouts. A 10 minute HD film was also created.
Geological Waste Disposal Bluray/HD 2009
Geological Waste Disposal DVD 2003
PSG Experiment - Grimsel (Nagra)
Rendering and compositing of 3D models for international Clients
Front cover for Burton Power Catalogue 2012
Front cover for Burton Power Catalogue 2014
Front cover for Burton Power Catalogue 2015
Front cover for Burton Power Catalogue 2016
Wavemaster Design : Ferry design renders
Car Colour Services : Colour and spraying services
Volkswagen Crafter for Volkswagen Australia
DMMultimedia | 3d tutorials | BBS Alloy | Modelling the Hub Cap

Part 2. Modelling the Hub Cap
This section will show you the construction of the large bolt-like centre cap for the BBS Rim.
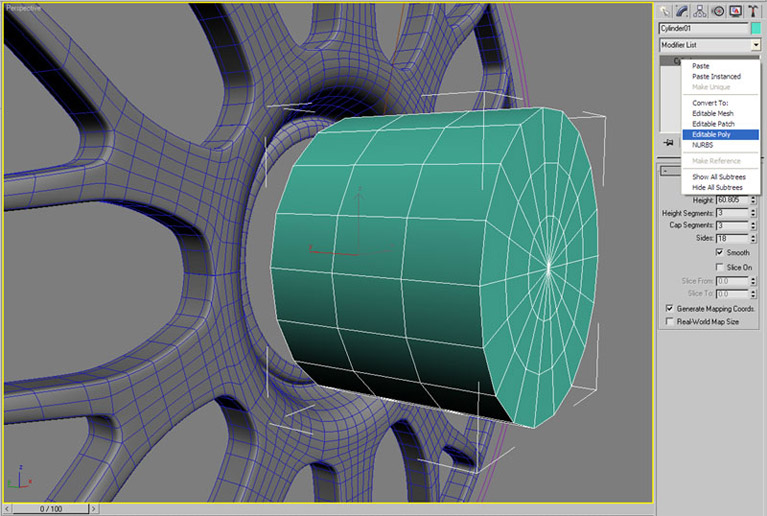
First start with creating a simple Cylinder in the front view port with the parameters as shown - then convert to Editable Poly :
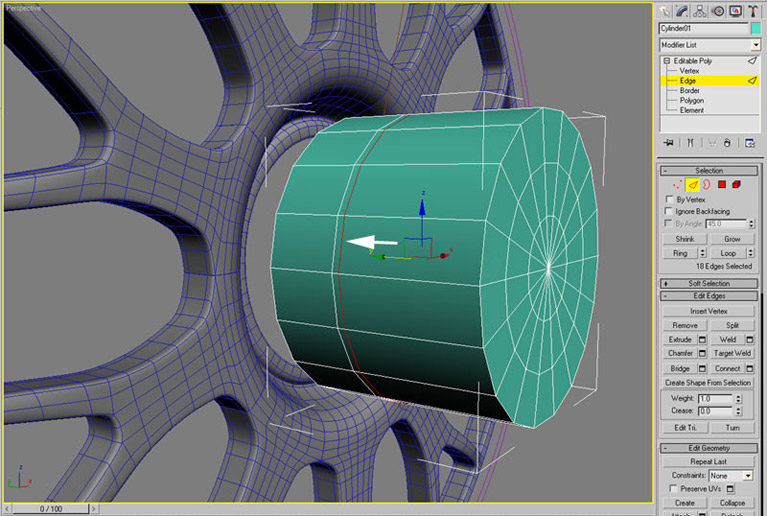
Select the middle edge (nearest the top of the cap) - do this by selecting one edge and then Loop. Move this back close to the lower middle edge :
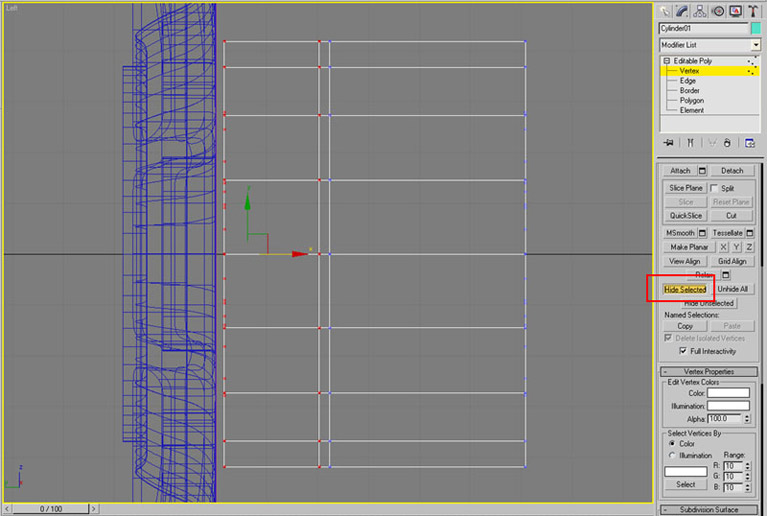
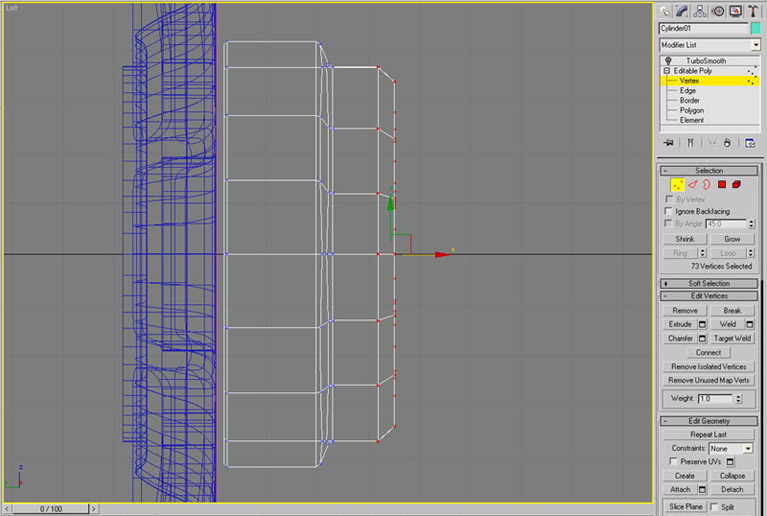
Go to the side view and select all the lower vertices as shown, and Hide Selected :
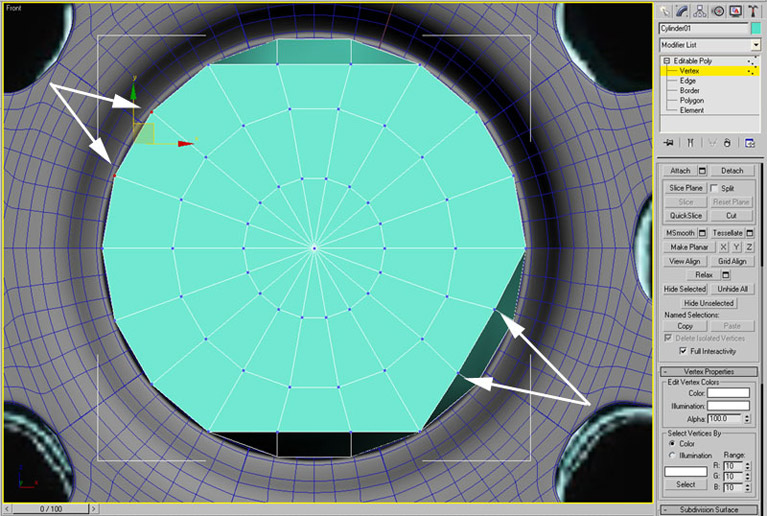
Back in the front view select two vertices (Crl and select) at a time and move them so that they start to resemble the bolt effect (that is why I chose the amount of sides). Leave the centre vertices alone :
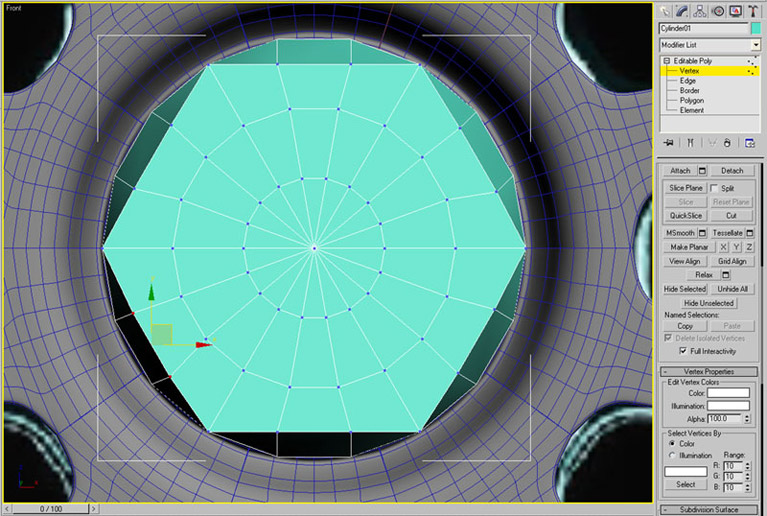
When finished it should look like this :
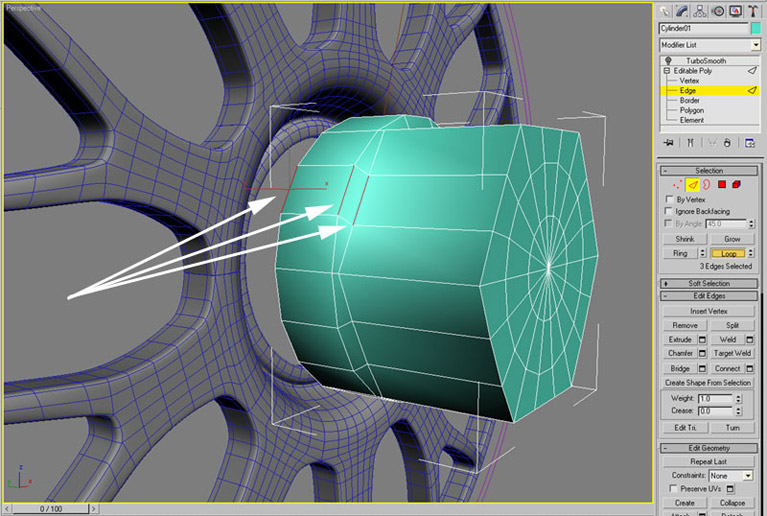
In the perspective view select the edges shown and then Loop :
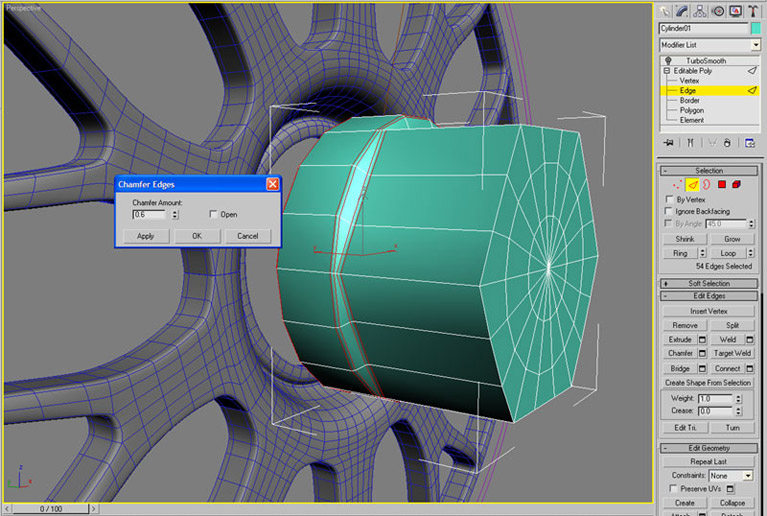
Chamfer these edges :
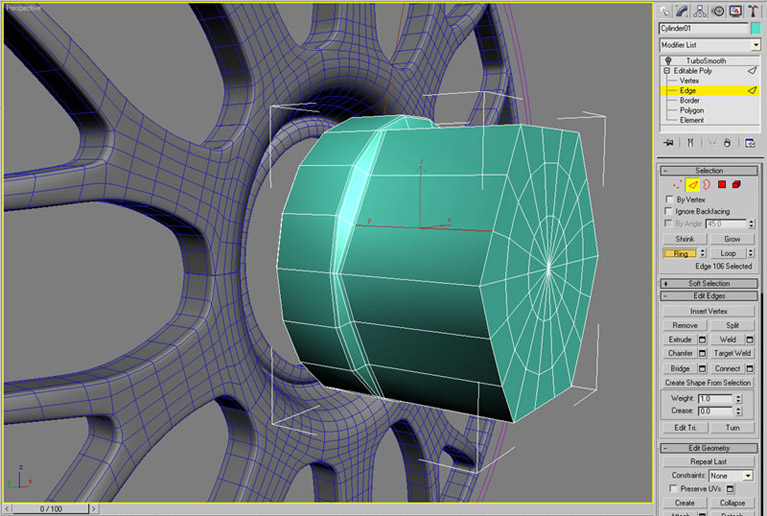
We need an extra loop on the upper part - so select the edge shown and then Ring :
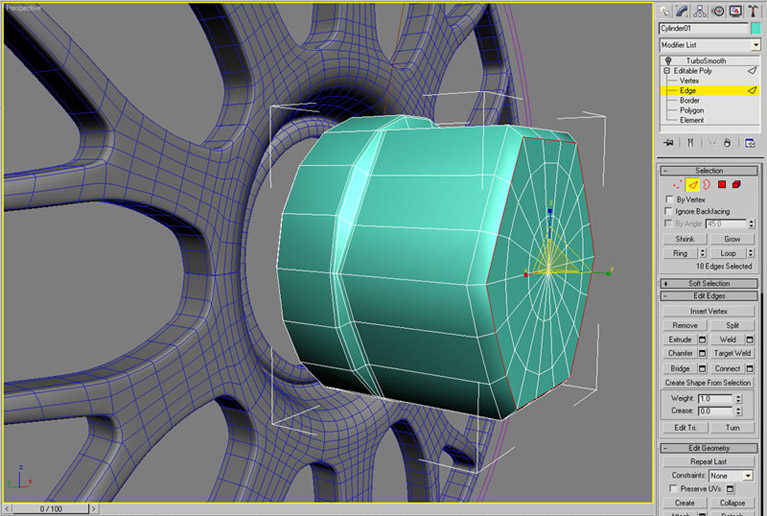
With all the edges still selected use Connect :

This will create a new edge, move it closer to the top pf the cap as shown :

Select the upper edge (select an edge then loop) lock this selection (normally the space bar) and then Scale this selection a little as shown :
In the side view, unhide all the vertices - then select the upper vertices and move them doen to the bottom of the cap :
With a Turbosmooth modifier it will now look like :

For a finishing touch I also modified the ring of edges on the cap top to give a recess for the BBS badge. You can do this by selecting the untouched edges on the cap top and chamfering (to get more edges) and scaling, then moving the outer set outwards a little and the inner sets (and centre vertice) backwards a little. I got this :
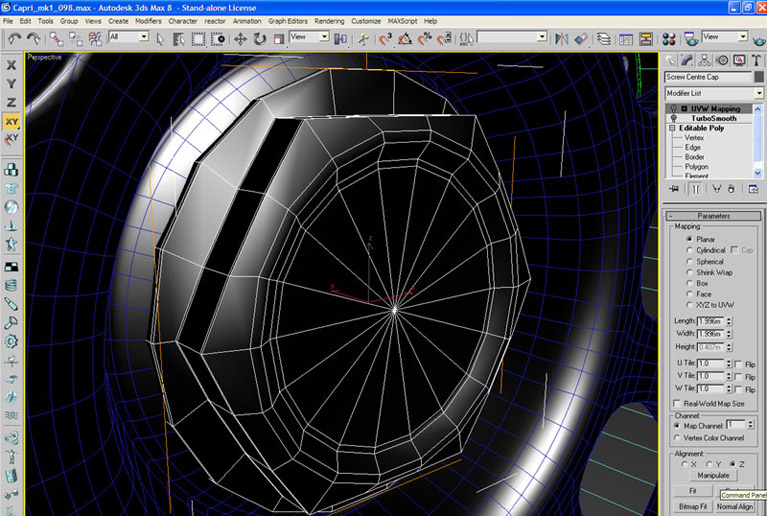
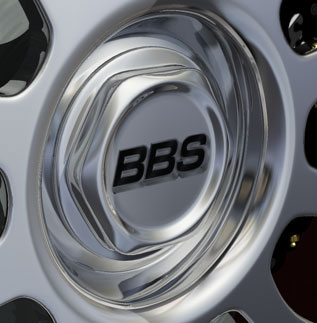
You can also see that I placed a UVW Map on the cap, and used a blend material, with a chrome mat in the upper slot and a darker flat colour in the lower slot. I used this map (1.3 Mb Tiff) which I created for the mix map. I will explain my settings in a later section for the setup of the chrome textures. But this should let you create the badge like below :
Continue to : Part 3. Modelling the Outer Rim and Bolts